Welcome!


I have always enjoyed being crafty. I remember getting really excited about stickers and fun stationary when I was little. Well its good to know that some things in life never change!

I was introduced to scrapbooking in 2005 and have been hooked ever since. My love of crafting has branched out to include DIY, projects, gardening, baking, and canning. I hope to share my projects here.

Showing posts with label Cricut Classic Font. Show all posts

Thursday, September 15, 2011

Happy Birthday Matey Card

Yo Ho All!

Today I am sharing a card I made for my DH's birthday.

I would say this was a simple card, and the design surely is simple, but it sure did take me a while to get all the things sized the way I wanted. LOL..


First I printed and cut the Barmaid holding the ale from page 6. Then I went back and decided to print out the Happy Birthday Matey too. While I was printing that I noticed that the Happy Birthday background wasn't printing in black. Grrrr... Then I noticed that the barmaid's stocking's weren't black either. Well I changed the ink cartridge and reprinted the title but left the barmaid with the grayish fishnets instead of reprinting her again too.

I Printed patterned paper in a 5.5" square and then hand cut it out and curled the edges and inked the backside to add to its aged look.

I accented the Barmaid and the Title with some Sakura GellyRoll Star Glitter Pens.

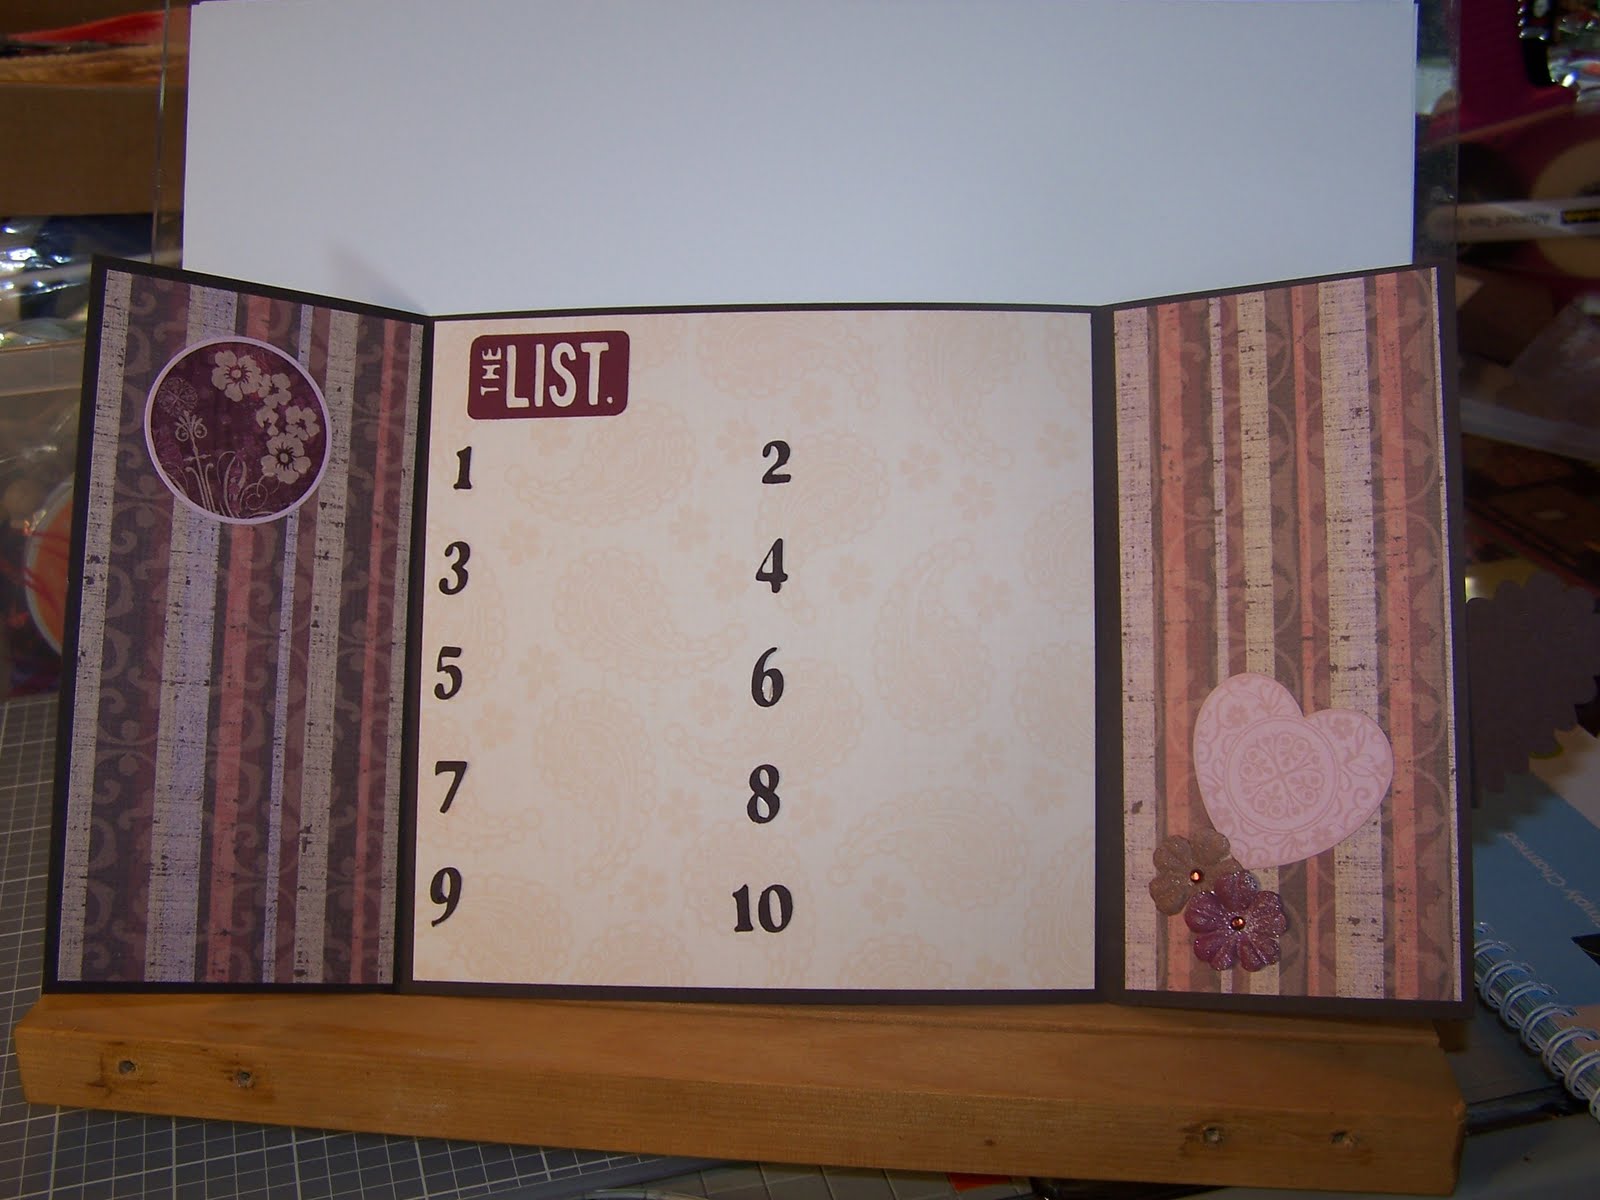
For the inside of the card, I added the Wanna and question mark from Cricut Classic Font. I flood filled the letters on my Imagine to match the coloring on the Timbers.

Funny how adding one word to a title can change the entire tone of it. It makes me giggle and I am sure my DH will laugh too.

I added the sword because I had printed it for the front for the parrot to sit on and then decided not to use it there, so I just used it on the inside. The sword was also accented using the Star GellyRoll pens.


Here is a close up of the Mug of Ale. The only extra layer I cut for the card front was the foam on the mug. I added some liquid Applique and heated it so it would poof up. (I love this stuff!)
I also hand cut a small piece of acetate to layer over the mug to give the appearance of glass. It is only attached under the foam so it wiggles more than I would like, but I can live with that. LOL


I am happy to be getting back into crafting..it feels like so long since I made anything!

Thanks for visiting today.

Have a Great and Crafty Day!

Jan

Saturday, May 28, 2011

You are Loved

Here is my entry to this month's Cricut Circle Blog Challenge.
This project is a gift I made for a friend who is fighting Breast Cancer. I made it to let her know that she is in my thoughts daily and that I cherish her very much.

Here are the Challenge details;
MAY MONTHLY CHALLENGE: Tic Tac Toe Challenge!
Tic Tac Toe . . . Three X’s in a Row! That’s the goal in this challenge. Look at the tic tac toe board below and choose three squares in a row. Use the challenge prompts from all three squares to create your project!

The Challenge: Create a project of your choice using the Tic Tac Toe board above to choose THREE challenge prompts in a row. Project must include atleast 2 different Cricut Image Cuts.


For my project, I chose the bottom row across: Use a flower, Use cuttlebug embossing, and patterned paper printed from the Imagine.

Here is a close up of the first two panels:
The panels were cut from George at 3.5 inches. I cut the chipboard on the Expression and Printed out all the patterned paper from the Imagine, using the Blossom Cartridge. The Font is Cricut Classic font cut at various sizes from .88 to 1.4 inches. I just used my gypsy to size the word I wanted down or up until it fit within the panel.

Here is a close up of the next two panels:
The Butterflies, Dragonfly and Trees on the project were all printed from Imagine Nursery Tails Art Cartridge. The swirls were printed from Imagine Yummy Art Cartridge.

Here is the last two panels:
The flowers were cut from Elegant Edges and the Heart was cut from Pink Journey.

Here is the back side of the panels:
Each one is embossed with a different Cuttlebug folder.

I added some Brown stickles to the insects and some small gems throughout the project to give it a little sparkle.

I used the Crop-o-dile to set eyelets in each side and attached all the panels together with some ball keychains that I cut down to size.

I really enjoyed making this project. I hope it gives her some happiness.

Have a Great and Crafty Day!

Jan

Sunday, May 1, 2011

May Monthly Cartridge Challenge

It's a new month, and with that I pick a new set of Cartridges to use during the month. This is my 10th Month doing this challenge, and I am pretty darn excited that I have hung in there and kept plugging away at it. I hope others are challenging themselves to use the carts they buy too!

May's Picks are:

Cake Basics
Cricut Classic Font
Cuttin' Up
Freshly Picked
George and Basic Shapes
Hannah Montana
Happily Ever After
Life's A Beach

Also want to use my Imagine more, so I am challenging myself to use that at least once in every month too.

Friday, March 18, 2011

Crazy Birthday Centerpiece

Hello all! While I am away at the Dallas Stampede, I thought I would share with you a crazy centerpiece I made for my friend who will turning 30 this week. I made this springy bouquet using Accent Essentials for all the flowers. Mark another cartridge off of this month's challenge! HOORAY!


First Thing I did was paint a 3.5" square block of wood black, and then I covered it with Martha Stewart Glitter in Black Onyx. I LOVE MS Glitter!!! While the glitter was drying I spent some time twisting various colors of Jewelry wire into springs and bendy stems.

I cut 5 different shapes from Accent Essentials. I cut each base twice (once flipped on my Gypsy so I can layer them back to back) and one of the top layers. I cut one of each of the five layers in six different colors of Bazzil Bling paper. The base layers I cut in Black Glitter paper from Target.

The 30's were cut from Birthday Bash. They were also cut in the same colors of Bazzil Bling. The Happy Birthday on the base of the cube was cut from Cricut Classic Font in glitter paper, also from Target. I finished each flower with a sparkly tulle bow in matching colors.

Here are some close-up's of some of the flowers.


I made 30 flowers of course, and then I drilled quite a few holes on the top of the block. The flowers just sit in the holes, they are not glued. I wanted to make transport of this to Dallas as easy as possible.

Have a Great and Crafty Week!

Sunday, January 23, 2011

10 Things... Gate fold card

Here is one of my projects for week three of my Cartidge Challenge.

I needed to use Graphically Speaking on a project and I chose to make a Valentine's Day Card for my DH.
I absolutely LOVE this cartridge. It is my go-to cartridge when I am not sure what I want to do on a project. Sometimes just looking through the handbook gets my creative juices flowing, even if I don't end up using this cartridge on the project. I am not sure exactly what it is about this cartridge that speaks to me, but it is one of my favorites.


This is my first time making a gate fold card. I chose to make the card 6 x 6 to keep the measurments easy. I used brown cardstock for the base. All the patterned paper as well as two stickers on the inside of the card were from an older Creative Memories paper kit called Cherish. The Graphically Speaking cuts were: Top Ten, The List, as well as the numbers on the inside. "Things" and "about" as well as the I and the U were cut from Cricut Classic Font. For the I and U I cut several layers and glued them together to make a faux chipboard monogram. I then inked the edges. The heart and its layer were cut from Doodlecharms, with the top layer embossed with swiss dots.


The prima flowers on the outside and inside of the card were sprayed with Glimmer Mist in Coffee Shop, Black Chery, Pearl, and tattered Rose.


The bling I used, both the mini flowers and round gems were colored using Sharpie Markers. I LOVE this technique. All I buy now are clear gems and color them myself.

Have a great day!