Welcome!


I have always enjoyed being crafty. I remember getting really excited about stickers and fun stationary when I was little. Well its good to know that some things in life never change!

I was introduced to scrapbooking in 2005 and have been hooked ever since. My love of crafting has branched out to include DIY, projects, gardening, baking, and canning. I hope to share my projects here.

Showing posts with label Doodlecharms. Show all posts

Sunday, February 13, 2011

Abc Book 1 - Pic HEAVY

Here is an ABC book I made for my niece. It is such a picture heavy project that I split the posting up into two parts. I used many, many cartridges for this project. And it is a very simple pages, the cuts are arranged so I could label everything. I will list each cartridge used on the page under each picture, except for the letters used on each page were from the Mickey and Pooh Font Cartridges. I couldn't label every cartridge used! LOL

After I completed making all the pages, I then laminated them and used the Your Story to bind them into a book. I took pictures of the pages before they were laminated. The lamination wasn't the best on the pages, as there were so many layers and levels to the surface of the page, but since this was a book for a one year old, I wanted it to hold up to a kids love. For the cover, I adhered my cut with ModPodge and then went over the cuts again, sealing them on to the cover. That has held up quite well.

Cartridge used: Create a Critter

Cartridges used: Locker Talk, Create a Critter, Simply Charmed

Cartridges used: Create a Critter, Simply Charmed

Cartridges used: Twinkle Toes, Create a Critter

Cartridges used: Sesame Street Friends, Create a Critter, From My Kitchen

Cartridges used: Simply Charmed, Create a Critter

Cartridges used: From My Kitchen, Create a Critter, Old West

Cartridges used: Create a Critter, Simply Charmed

Cartridges used: Create a Critter, Simply Charmed, Rock Princess, ZooBalloo, 50 States

Cartridges used: Doodlecharms, Create a Critter

Cartridges used: Love Struck, Create a Critter, Happily Ever After

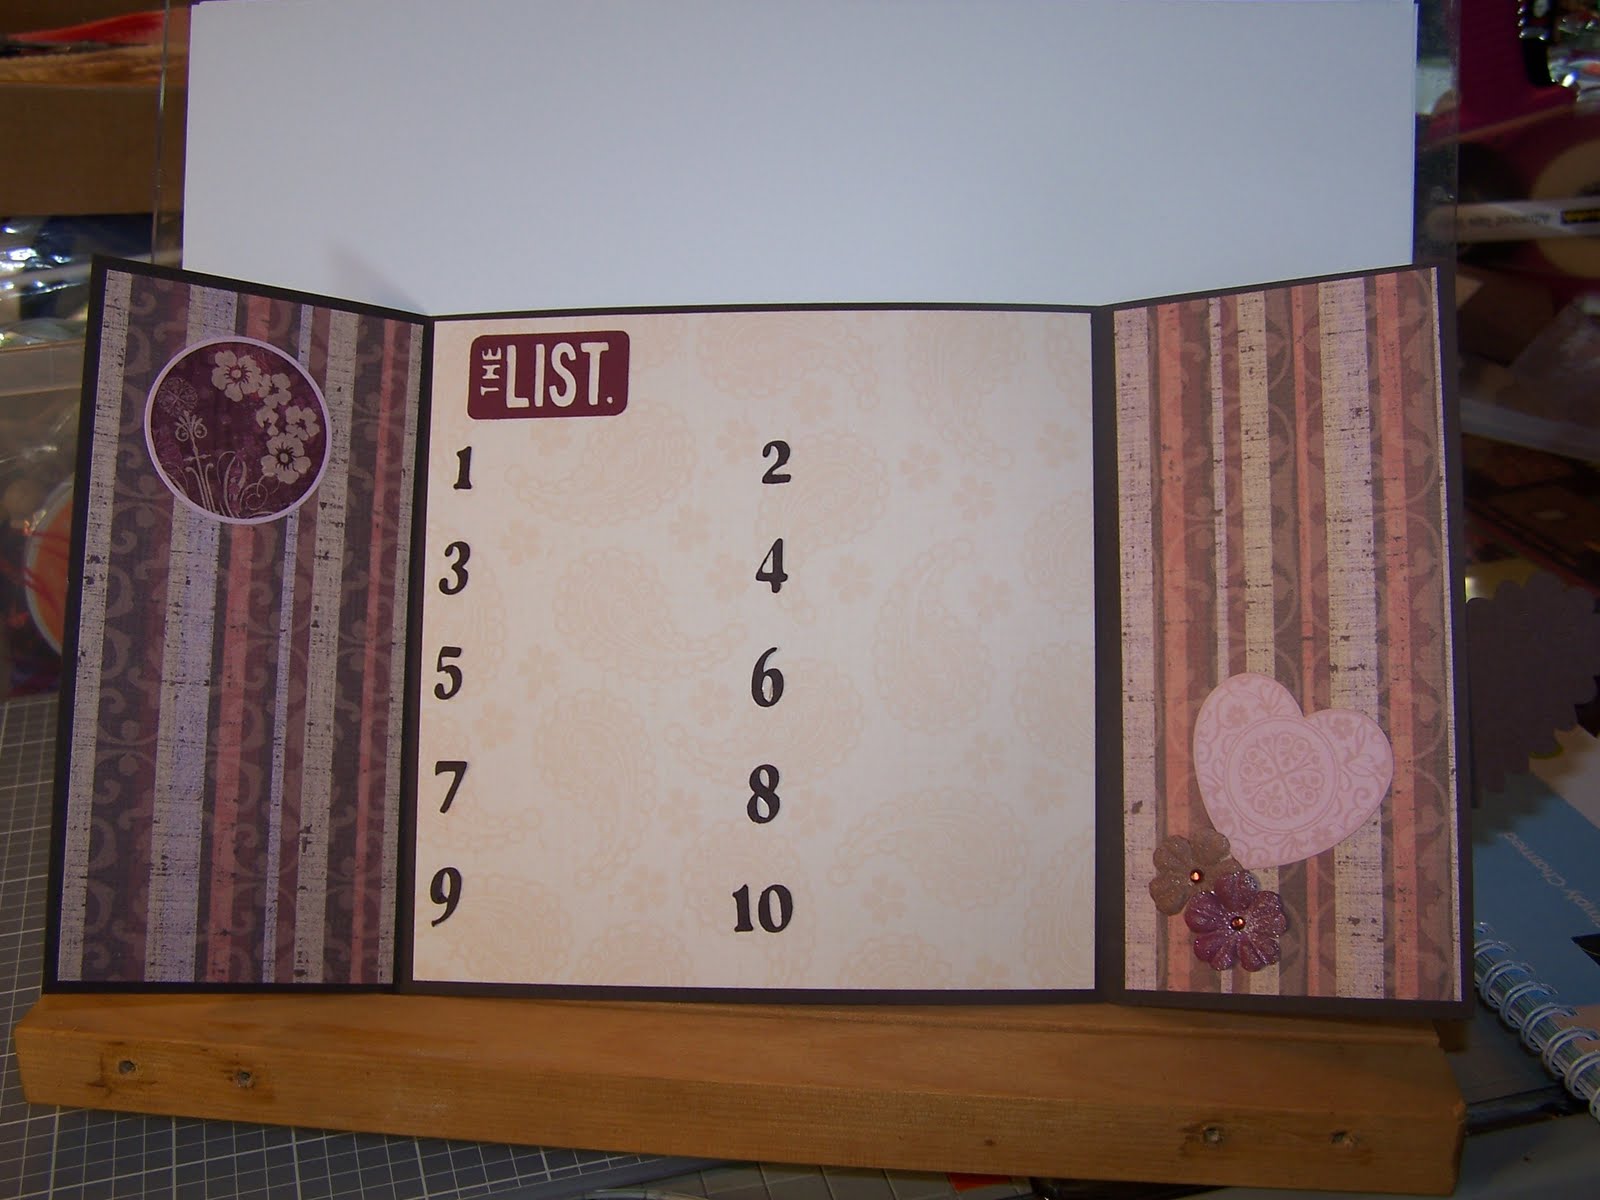
Cartridges used: Create a Critter, Paisley

Sunday, January 23, 2011

10 Things... Gate fold card

Here is one of my projects for week three of my Cartidge Challenge.

I needed to use Graphically Speaking on a project and I chose to make a Valentine's Day Card for my DH.
I absolutely LOVE this cartridge. It is my go-to cartridge when I am not sure what I want to do on a project. Sometimes just looking through the handbook gets my creative juices flowing, even if I don't end up using this cartridge on the project. I am not sure exactly what it is about this cartridge that speaks to me, but it is one of my favorites.


This is my first time making a gate fold card. I chose to make the card 6 x 6 to keep the measurments easy. I used brown cardstock for the base. All the patterned paper as well as two stickers on the inside of the card were from an older Creative Memories paper kit called Cherish. The Graphically Speaking cuts were: Top Ten, The List, as well as the numbers on the inside. "Things" and "about" as well as the I and the U were cut from Cricut Classic Font. For the I and U I cut several layers and glued them together to make a faux chipboard monogram. I then inked the edges. The heart and its layer were cut from Doodlecharms, with the top layer embossed with swiss dots.


The prima flowers on the outside and inside of the card were sprayed with Glimmer Mist in Coffee Shop, Black Chery, Pearl, and tattered Rose.


The bling I used, both the mini flowers and round gems were colored using Sharpie Markers. I LOVE this technique. All I buy now are clear gems and color them myself.

Have a great day!

Wednesday, December 1, 2010

My Countdown to Christmas Project


I saw a project like this in the Stampin' Up Holiday Mini Catalog, amd I thought I could make one myself.

I made four sets, one for our home and one each for my sister, and my two cousins.

Cutting, scoring, and folding 100 boxes was a little time consuming, but I hope that we all will get many years use out of the sets.

I used Tags, Bags, Boxes and More for the box. The boxes were cut at 7.75" I used my Gypsy to hide the original holes on the sides and placed in smaller ones. I then strung a piece of gardening twine for the handle.


I used DCWV's new 12 x 24 stacks for the paper on the fronts: Adhesive Backed Pattern Stack cut into 2" squares and Adhesive Backed Texture Stack cut into 1.5" squares. The numbers were cut at 1.25" from Designer's Calendar.

My daughter thought that the back sides needed something as well, so I cut random Christmas and Winter icons and put them on the back sides. The cuts were from various cartridges, cut at the biggest size in order to fit on the 2.5" box side

Cartidges used: Create a Critter, Chrismas Cheer, Winter Frolic, Doodlecharms, Winter Lace, Christmas Solutions, and my Imagine Snow Angel Cartridge.

The completed boxes were hung from some more Garden Twine using mini clothes-pins, and I made bows with jingle bells for the corners and center support hooks.

Sunday, September 12, 2010

Fall Step card


Here is my first attempt at a step card. This is for a weekend challenge on the Circle board. I used ZooBalloo for the tree, Doodlecharms for the basket, the rake was made using Handman's shovel and Going Places fork. The swirl was cut using Calligraphy. The grass was cut from the Easter seasonal cart. I welded two together using my gypsy.