
Hi all! Well Here we are in the week before Christmas. I have been crafting quite a bit lately making presents for people.
I have discovered the delights of Make the Cut software. I had been resistant to getting it, as I was afraid of how complicated the software might be. My only experiences thus far were using Cricut Design Studio and my Gypsy. However I love so many of the SVG files that are out there, as well as having the ability to cut any font.
I am very happy to say that I LOVE it! True, I am still a complete novice, but I am learning the more I mess around with it.
So here is my first project using Make the Cut and an SVG I purchased from Lettering Delights called Christmas Express Train 3D:
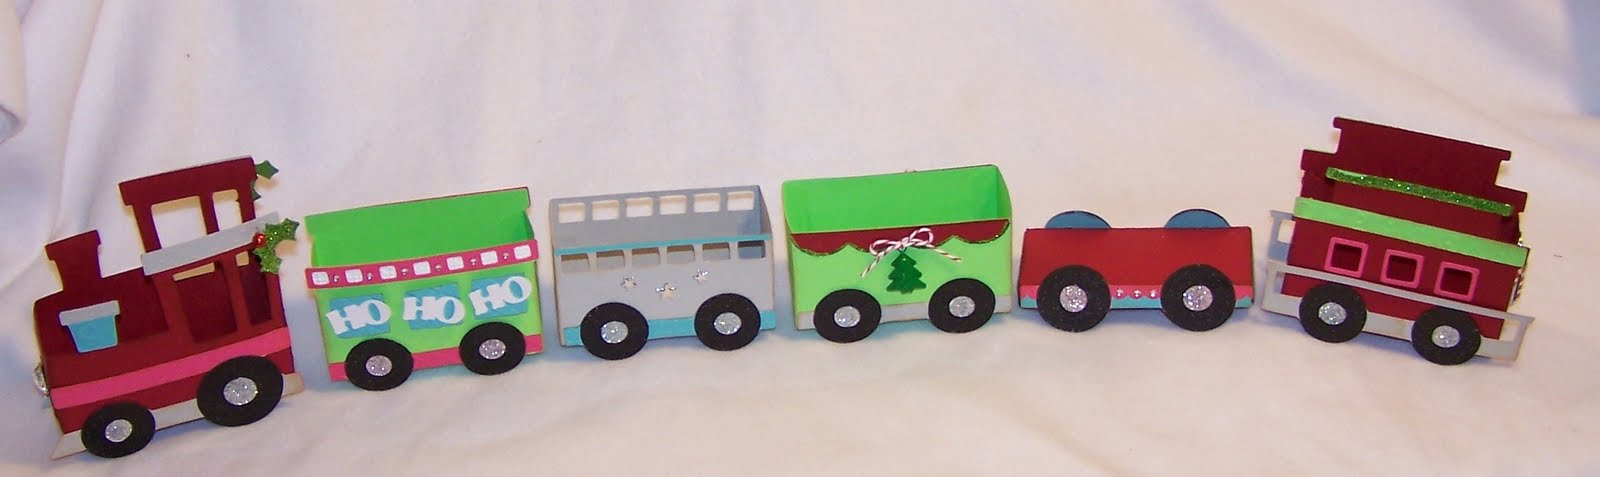 Here are close ups of all the individual cars:
The Engine:
 I added embossing, glitter and gems to most of the cars. On the engine, I also added a large antique gem from my grandmothers stash of goodies as the headlight. The holly was cut from Christmas Cheer.
 I added embossing, glitter and gems to most of the cars. On the engine, I also added a large antique gem from my grandmothers stash of goodies as the headlight. The holly was cut from Christmas Cheer.
Train car 2:

Train Car 3:
 This one I added some heat set star studs that I bought forever ago and never used.

Train Car 3:
 This one I added some heat set star studs that I bought forever ago and never used.
Train car 4:
 The Little Christmas tree is a bell. there is one on each side. I also added a little bakes twine bow.
 The Little Christmas tree is a bell. there is one on each side. I also added a little bakes twine bow.
Train car 4:
 The Caboose:
 The Caboose:
 Its hard to see from this angle, but I added a little metal candy cane charm to a spiral clip and stuck it on the back end of the caboose.
I made 4 sets of these, one for myself and one for three very good friends of mine. I can't wait to give these to them.
So, as my first SVG cut, I am quite pleased with how it turned out. I look forward to expanding my crafting to new areas with this software.
Hope everyone has a Great and Crafty Holiday!
Jan


