Welcome!


I have always enjoyed being crafty. I remember getting really excited about stickers and fun stationary when I was little. Well its good to know that some things in life never change!

I was introduced to scrapbooking in 2005 and have been hooked ever since. My love of crafting has branched out to include DIY, projects, gardening, baking, and canning. I hope to share my projects here.

Showing posts with label Stampin' Up. Show all posts

Saturday, February 4, 2012

Mini Cards

Hi all!

I was digging in my envelope drawer and I found this small stack of mini envelopes so I decided to make some cards to go with them. The finished size of the cards is 3 x 2.5.

They went together really quickly. I made 4 birthday cards and three without sentiment, so they can be personalized later.
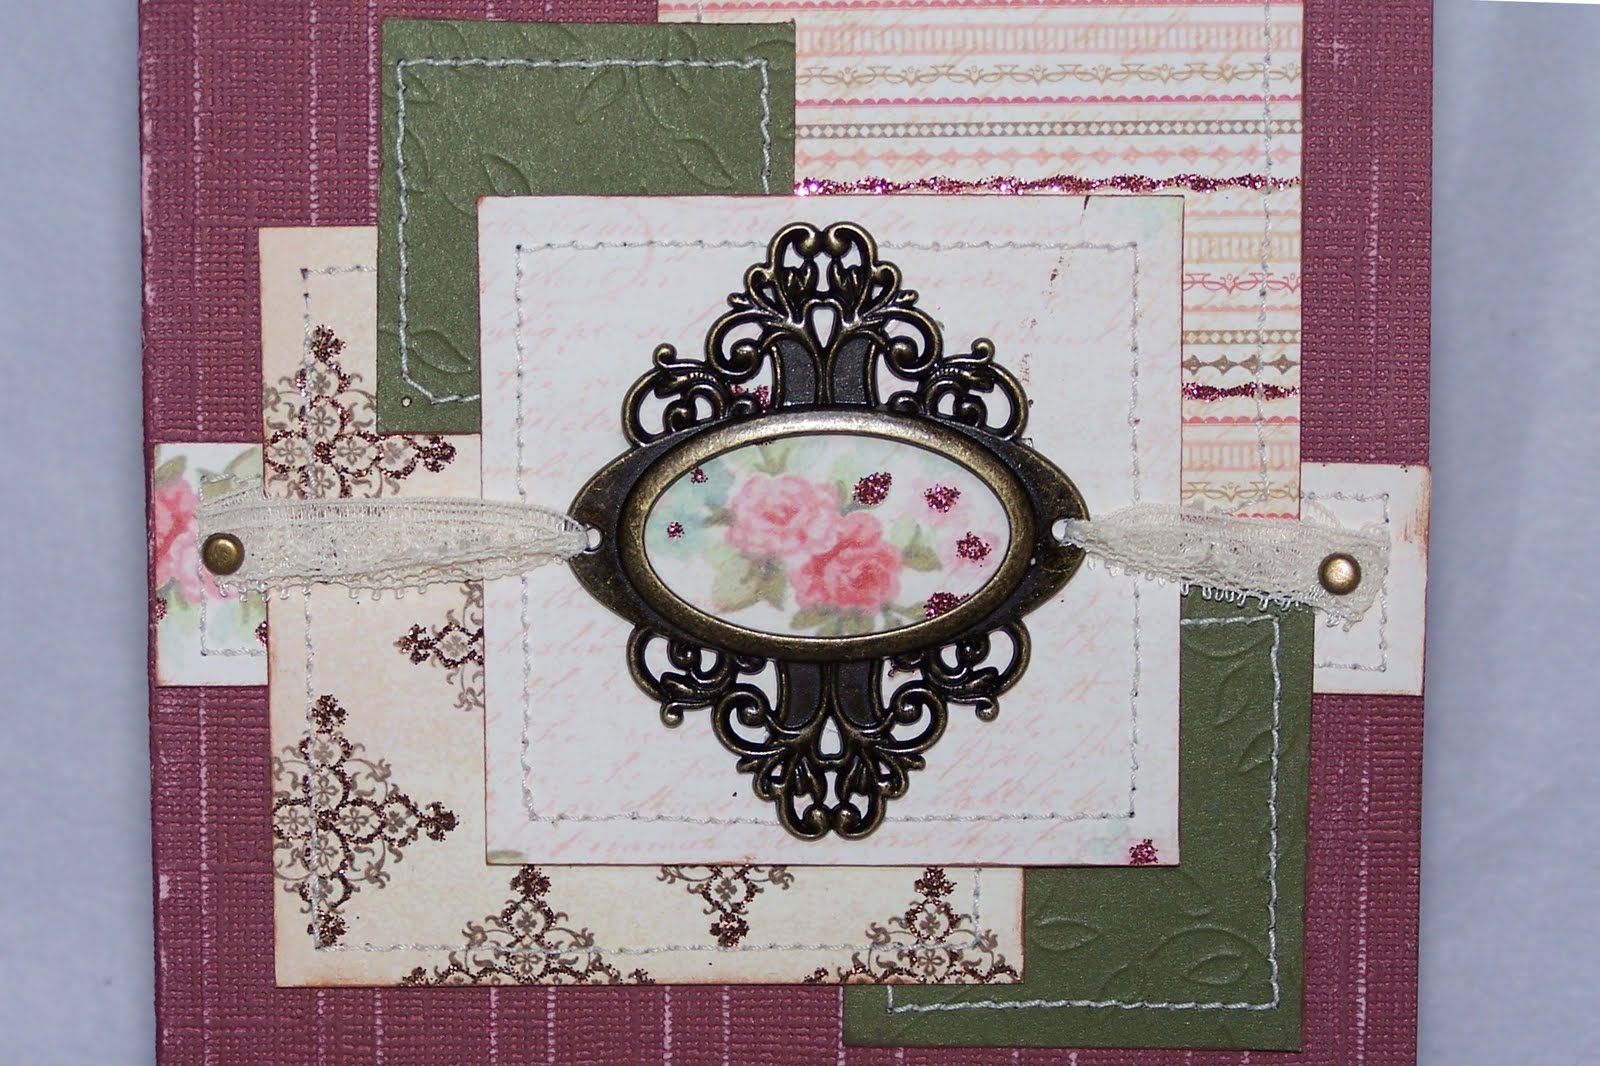
Here is a close-up of a few of the cards:

The Stamp is from Stampin' Up, and I have the coordinating punch for it. I just colored the flames and candles with a glitter pen. I added a twine bow and used a Fiskars border punch on the edge of the Hot Pink. I made this card also in a blue background/pink stamp color.

Here is the other Birthday one:
the Stamp is Stampin' Up. I hand cut it out. I used the same Fiskars border punch. This one I also made in the opposite color scheme.

Here is a one I used some buttons from my stash. I This one I added some embossing to the top white layer. I also made this one in a green base with yellow and purple buttons.
And the last one:

This has a flower shaped ribbon slide that was in my stash. I also embossed the top white layer on this one too.
These cards went together so fast. I spent maybe an hour on all seven. I really like this smaller size to add with gifts and such, so I may make some more of these soon.

Thanks for visiting today.

Have a Great and Crafty Day!

Jan

Friday, February 3, 2012

Birthday Cake Cards

Hi all,

Today I am sharing the cards I made for my daughter's birthdays this month. They are only a year apart, and they like everything to be the same, so I always make the same cards for them.
I cut the shaped card form Birthday Bash at 5.8 inches. I then used my gypsy to hide contours on the layered pieces so I could cut them in different colors. I used Divine Swirls and Swiss Dots cuttle bug folders on a few of the pieces. I also added some blue glitter to the "sprinkles" as well as glitter and flock to the flame parts.
The ovals are punches from Stampin' Up. The number stamps are I believe from Hero Arts. I added some twine and glittery gems to the oval.

Thanks for visiting today!

Have a Great and Crafty Day!

Jan

Friday, December 23, 2011

Xmas tree made out of a book

Hi all!

I wanted to share a tree I made out of an old paperback book that I didn't really like.
I got the idea from the December 2011 Issue of Family Circle Magazine.
After following the folding directions in the magazine, I inked the edges of the folds using Tim Holtz's Spun Sugar Distress Ink. I then sprayed the entire tree with adhesive and poured two types of glitter all over it. Well its pretty sparkly, but it sheds glitter an awful lot. My apologies to the recipients of this gift. LOL

This tree has absolutely no Cricut on it! Gasp! The only cuts on the entire project are the stars on top and I used some Creative Memories Punches for those.
They are cut onto some silver foil paper I picked up at Hobby Lobby. I then inked them up using Stampin' Up inks in Blushing Bride and Tempting Turquoise.

The Garlands are made using twine in pink and blue. The bells and beads were from my stash.


I tied the little beads to the blue twine, but then decided that the beads needed some glitter, so I went back and put glossy accents on all the beads and dipped them in glitter.


For the pink twine, I braided three strand and just attached a blue bead inside the middle string every so often. I later glitter these beads as well.


I have been LOVING using glitter lately. Yup,.. its a big mess everywhere and my family has stopped pointing out that I have glitter all over my face and clothes, but I just don't think that Stickles gives the same coverage that using glue and glitter does.


Thanks for visiting today.

Have a Glittery Holiday!

Jan


Monday, December 5, 2011

Mom's 70th Birthday Cards

Hello! I have been away from my blog for too long. I have recently been diagnosed with arthritis, although the doctors are still trying to determine whether it is a rheumatoid or osteo variety. I have been struggling with my arthritis and crafting. Some days are better than others, but I am getting better at living with the changes that are occurring.

I am going to really strive to craft a little everyday. My plan is to also pick up my blog posting again. Although, I have made a few items recently, Most are gifts and I do not want to spoil any surprises for the recipients, so I will not be posting them until after the gifts have been given.

Anyway... We recently celebrated my Mom's 70th Birthday. My siblings and our families met near St. Louis for Thanksgiving weekend. We all haven't been together since my Dad passed away so it was great to have everyone there.

We all went in together and bought my Mom a new laptop and I was charged with making the card for everyone to sign.

Here it is: I used a design from a Close to my Heart design book, although I made the card larger to have enough room for all of us to sign.


The patterned papers were from the Lost and Found line. I just love these glittery pages. The green leaf embossed paper is older Creative Memories paper from my stash.

The medallion is Tim Holtz. (I absolutely LOVE Tim Holtz Products!) This was also my first time sewing on a card. I practiced quite a bit before I actually sewed on my specialty paper. I also just sewed around the pieces separately and then adhered them to the card.

This stamp is from Stampin' Up. I used Versamark Ink and Zing embossing powder on it.
The inside of the card just had a small sentiment stamp that said "Happiness always" on it.

Maddie and Ellie, my two younger girls, also made cards for Granny. Maddie used Once Upon a Princess and my Baby Bug to decorate her card. She did all the cutting and pasting herself. Ellie opted for just using stamps. LOTS of stamps. LOL
Here is the inside of Ellies. I just love that she took a scrap of glittery paper and taped it to the bottom of the inside. She spends a lot of time watching me craft, and I am glad she is picking up on things.
Maddie's inside was full of snowflake stamps, as my Mom's birthday is actually in late December.
I love to see the creations that my daughters come up with. They just make my day!

Thanks for visiting today.

Have a Great and Crafty Day!

Jan

Wednesday, August 3, 2011

Hat shaped Graduation Card

Hi all,
Today I am sharing a card I made for my daughter's friends Graduation Party.

I used Wild Card for the card shape and the class of 2011. I forgot to write down the sizes I cut everything at. I think I used fit to page for the card, and the title I sized using my Gypsy to fit on the front.

It may be hard to see, but I cut the card twice so I could make the top of the hat two layers. I then made a tassel using some skinny ribbon I had in my stash, and attached it to the top of the hat using a brad.

The inside of the card has a yellow tag made using two Stampin' Up punches and a SU Happy Graduation stamp.


I haven't made many of these shaped cards. I did not cut the corresponding envelope for this card, but used a store bought 6.5" square envelope. Maybe next card I cut from here, I'll cut the matching card with it. I have been told that you need to cut the envelope first, then size the card accordingly. maybe I'll add that to my list of things to try for the month of August.

Thanks for visiting today.

Have a Great and Crafty Day!

Jan

Friday, June 17, 2011

Teacher's Gifts- Greenbean's Hand Scrub

Hello all! I hope everyone has been having a good summer vacation so far. I am glad the school year is over, it seemed like it was such a long year. The start of Summer vacation was quite a hectic time, because of Alex's birthday party.

I realized that in focusing so much on Alex's birthday party, I completely forgot to make Teacher Appreciation gifts!..EEKS! So in addition to prepping for her party I had to quick whip out some teacher gifts.

Well its Greenbean's Crafterole to the rescue! I remember a post Greenbean did about homemade hand scrub and I decided I could whip up a few of these for the girls teacher's quickly. Here is a link to Greenbean's step-by-step on how to make these great little gifts. While you are over there, check out all her other great projects! She is a fantastically crafty lady!

Here is my Completed Teacher gift:
Greenbean labeled this hand scrub as garden hand scrub, so decided to use my Freshly Picked Cart to decorate it. I was able to get these gifts made up rather quickly and in time for the end of the school year. Now I am catching up on my blog posts.

Here is a close up of the little Gnome. He is just so stinking cute! He was cut at 2.5" and finished up with some pen and pencil accents.
Here is the apple bin from page 49. I cut it at 1.35" and used some pens to give some more details. I found a small piece of wood patterned paper in my scrap box and used that to cut the fence layer. I stamped the Thank you using a Stampin' Up stamp and then hand cut the sign.

The flower and leaves on the top of the jar was cut from Mother's Day Bouquet. I inked them up using Distress Ink and stuck a gem in the center. The Ribbon is Martha Stewart Ribbon I picked up at Michael's.


I really like that little Gnome. I think I may have to make one for my Scraproom. :)

Have a Great and Crafty Day!

Jan

Tuesday, February 22, 2011

Swan Sympathy Card

This weeks Cartridge Challenge is to use the Wedding solutions cartridge. There are a number of cuts on here that are not wedding specific, like swirls and flowers. I needed to make a sympathy card so I chose to use the Swan cut. All the cuts on this cartridge are fairly simple, only two layers. Plus there is a shadow and blackout key available.


For the Swan, I cut the top layer twice in white, and then the base layer once in black. I used my embossing stylus and a mouse pad, to give the swan a little more dimension. I then cut out the wing from second white layer and attached over the wing on the first layer. I used a couple of Copic Markers; E50 Egg shell, and E51 Milky white, to add a small amount of color to the cuts on the Swan.


I cut a few swirls from the Calligraphy cartridge for the water.

The scalloped Circle is from Mini Monograms, as is its circle layered piece.

The background patterned paper was a scrap leftover from my coupon book post. It came from my stash. I think it might have been from a K and Co boxed set of paper.
The cardstock card base is Bazzil Wildberry Pie. The blue patterned paper used for the circle is Recollections Light Blue.

The sentiment stamp and punches used for the sentiment are all from Stampin' Up.

The ribbon was a remnant piece from my scraps.

Have a Great and Crafty Day!

Monday, February 14, 2011

Quickie Mini Valentine's Day Cards

Happy Valentine's Day to all! I hope everyone has a wonderful day.

Valentine's Day is pretty low key at our house, as we have two birthdays and our anniversary in February also.

Here are some quickie Mini cards I made to attach to the girls goodies for today.
The cardtock and ribbon pieces were from my stash of scraps. The felt hearts and bling alphas were both purchased last year during the after the holiday sales. The sentiment stamp is from Stampin' Up.

The love paper was from the Target $1.00 bin. I love checking the Target Bins for cute scrapping finds.

I love how the felt heart adds dimension to the front of the card.

Have a Great Day.

Jan