Welcome!


I have always enjoyed being crafty. I remember getting really excited about stickers and fun stationary when I was little. Well its good to know that some things in life never change!

I was introduced to scrapbooking in 2005 and have been hooked ever since. My love of crafting has branched out to include DIY, projects, gardening, baking, and canning. I hope to share my projects here.

Showing posts with label Graphically Speaking. Show all posts

Tuesday, March 13, 2012

Hiking Layout

Hi all! I am so excited to be sharing a layout today. I haven't made any layouts is so long, and I have fallen quite behind in my scrapbooking. My friend introduced me to a great website called Let's Scrap. Its a great community of scrappers, and they offer motivation in the way of challenges using sketches. I am looking forward to working on more layouts in the future.

Here is the sketch for the week of 3/7/12:


Here is my layout for this sketch challenge:


All the papers used were from my stash. The Happy Trails was cut from Camping Critters, the @ was from Graphically Speaking, and the font is Jubilee Runt and Jubilee Basic. I inked the edges of the orange titles. The trees were from a K&Co set from a while ago. I added some brads and twine for a little interest, and a charm from Karen Foster Designs.

Here is a close up of the charm:
Isn't that fun? The charm set also has a Dutch oven, flashlight, canteen, and Camp Lamp. these charms are nice because they are flat on one side.

Thanks for visiting today.

Have a Great and Crafty Day!

Jan

Tuesday, February 7, 2012

Bookmark and Book Gift Box

Hi all!

Today I am sharing my entry into the Cricut Circle Blog Monthly Challenge.
The challenge is to make a gift for someone.

I made this Gift Box to look like a book to hold the bookmark I made.
For the box, I used Tags, Bags, Boxes and More Match2 blackout cut on pg. 65. I then sized some rectangles from George to fit slightly larger than the box base for the covers. I cut them out of chipboard, and covered them with a patterned paper from my stash. I scored a piece of Black Magic Cardstock for the spine. I cut the word Read from a font on Calligraphy Collection that I welded together with my Gypsy.


I scored the edges of the box to look like pages in a book.

I lined the box with a page cut form an old book. I inked up the edges with Distress Ink. I hand cut the tab that holds the magnetic closure on the inside of the box.

Here is a close -up of the bookmark I made.

I am a complete novice when it comes to beading, but I really wanted to make this bookmark using the book cut from Graphically Speaking.

I cut the base cut at 1.5 inches using Shrinky Dinks. I then hand colored the details on the plastic. I shrunk it with my heat gun. It may be hard to see, but the book isn't flat. While it was warm I bent it to a shape more like an open book.

I then covered the white areas with a fine white glitter and some diamond glaze.
I am making these for my daughter's teachers and aides. I am really excited for how they turned out. I will probably make them all a little different, as many of those beads are older ones from my stash and I need to make 8 of these.


Thanks for visiting today.

Have a Great and Crafty Day!

Jan

Saturday, July 30, 2011

My Smash book project - part 2

I'm back again tonight with part 2 of my Smash Book Project.
Again, most of these pages are not completed yet, and on many of them, the backsides are not done at all.

Here is a page on backyard camp outs. I printed the paper using my Imagine Hopscotch cartridge. The Camper pocket is cut from Going places, and the Top ten, numbers, and the list icon are from Graphically speaking.
Here is a page on swimming. The paper is Cosmo Crickets Snorkel. The cuts were from H20. The raft is a Jolee embellishment. I used Bazzil Bling paper on this page too. Also the little alligator was from DCWV SafariKids Stack. Here is the start of some pages about our big camp out to Kickapoo State Recreation area. Here I just used a brown lunch bag as a pocket.
Here I cut the Camp journal sign from Camping Critters for some smaller insert pages.
I printed out my journaling for the entire camp out onto 5.5 x 10" papers. It will look like a small journal stuck into the middle of my smash book.
Here is a page I am working on, showcasing the pictures we went on this camp out to get. This paper is Bo Bunny's Roughin' It.
The top picture is my dd and my bff's DS taken in 2002. The middle picture is a picture of the picture on the same trail. The bottom picture is of our kids taken this year..recreating the picture somewhat. Plus a pic of them being silly. It sure doesn't feel like 9 years since that first picture. Ah.. My Harry Potter page....Harry Potter and the Deathly Hallows, Part 2 released while we were camping. I made my DH take me to see it the evening we got back from camping. The 8x8 paper is from DCWV Once Upon a time stack, all other embellishments were from a Harry Potter paper pack and accessories kit.
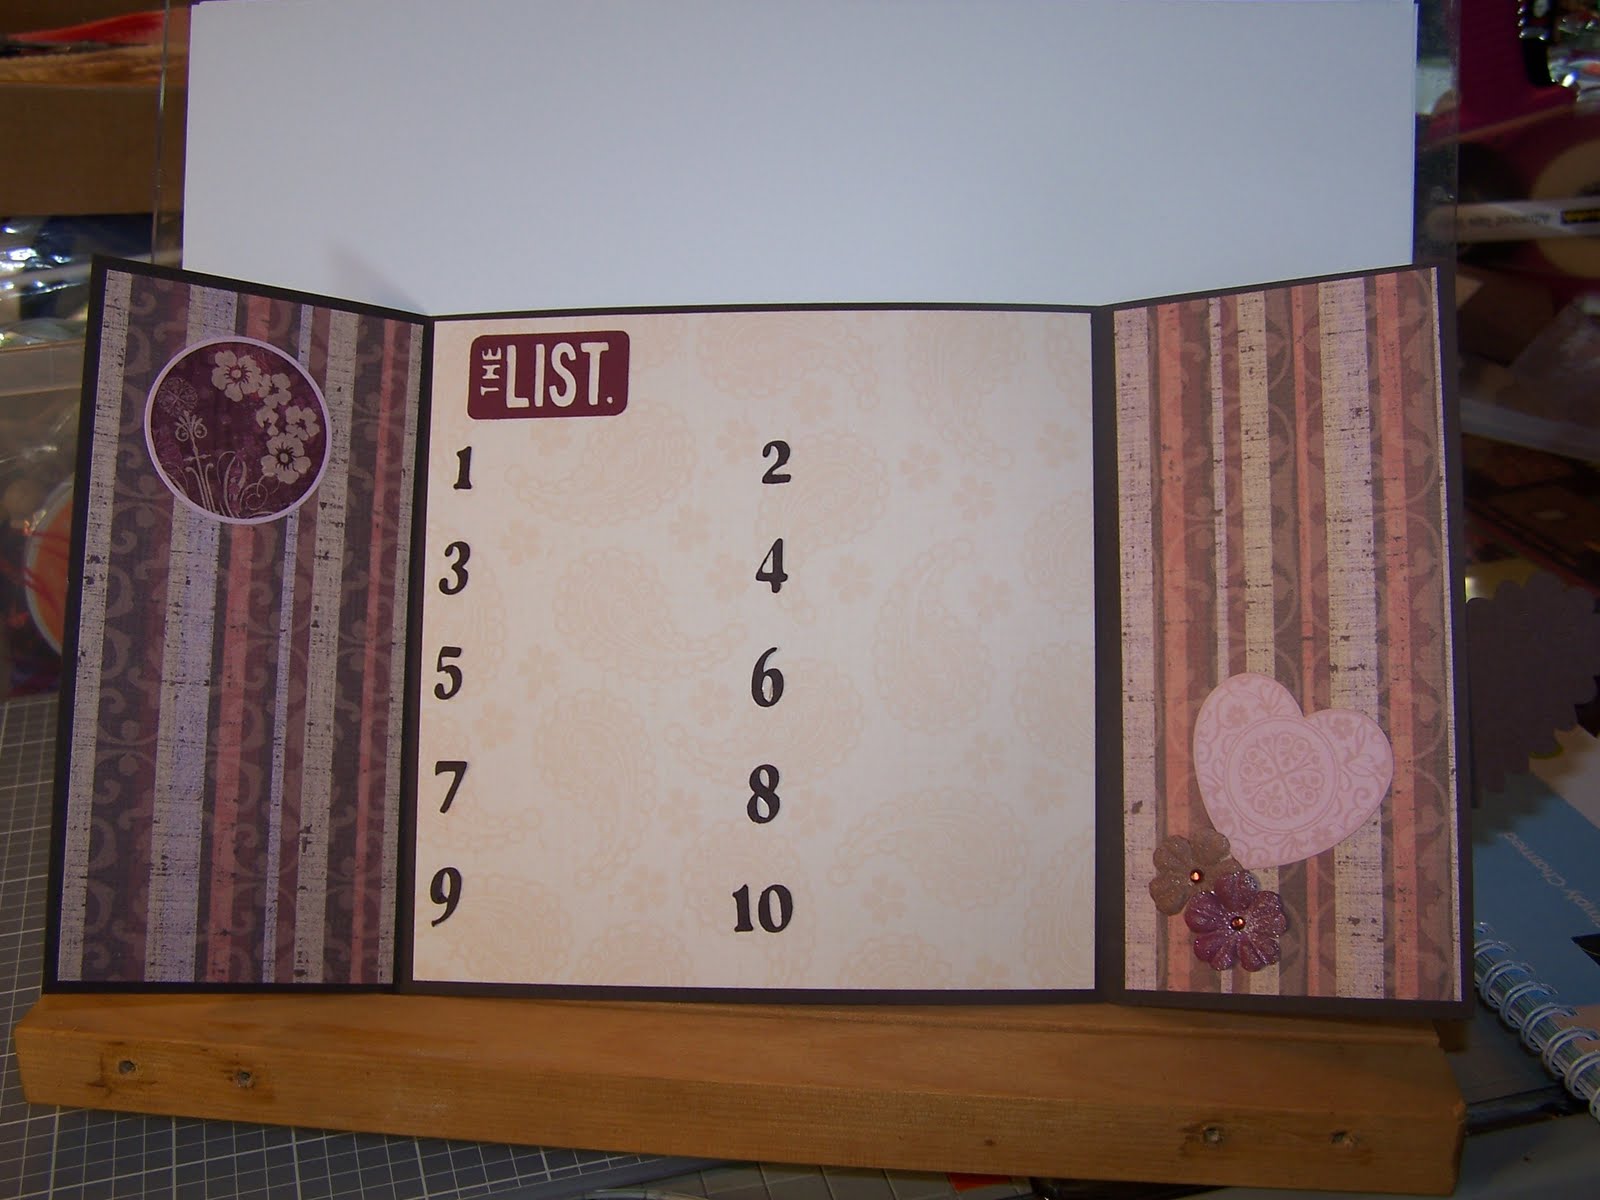
Here is a very simple page, using just a sheet of craft cardstock, a sheet of white cardstock, some stickers, pens, and brads. I decided to keep track of everything I did one day, just to see how crazy the numbers would be. I am really pleased with how this one turned out, for being such a simple idea. The July 27 was cut from Cuttin' Up. Everything else was older Creative Memories stickers from my stash.
Here is a close- up of the journal tabs on the page. I printed out my items, added stickers around the journaling, and then used a few different sized square punched to punch them out.

Well that is the progress I have made on my smash book. I have used most of the cartridges from my cartridge challenge for it. I have more to add to it, and when I complete more pages, I will share them as well.

Thanks for visiting me today.

Have a Great and Crafty Day.

Jan

Tuesday, July 5, 2011

Library Bags using Yudu

Hi All! My daughter's have discovered the delights of our local Library, so we have been going once a week this summer. I decided to make the girls their own tote bags to carry and store their library books in.
I am really loving my Yudu machine today! These totes were so easy to screen...we went from plain bag to screened and out the door in about an hour! I used outdoor grade vinyl on my screen instead of emulsion. I find it works great and costs a fraction of what emulsion costs. This particular brand is from H & H sign Supply online. It is GT5 Intermediate vinyl. I purchased it in a roll of 12" by 10 yards.

I planned my design using Graphically Speaking Cartridge and my gypsy. I placed the images centered on my mat and then cut the vinyl out. I did not reverse the image as I placed the vinyl on the TOP of my screen. I popped it in my YUDU, flooded the screen and pulled once....Voila! I quickly dried the ink on the tote bag with my heat gun and then heat set it again using my iron. We were out the door in no time.

I also made some little monogram tags for each bag so the girls can tell theirs apart. Both girls picked which mini monogram they wanted for thie bag and I cut them using QuickKutz vinyl I picked up from Hobby Lobby. I then quickly laminated each tag using my Yourstory machine, punched a hole in the corner and stuck a keychain on it. I hung the tags from the bag handles.

A quick and fun little summer project.

Thanks for visiting and have a Great and Crafty Day!

Jan

Sunday, January 23, 2011

10 Things... Gate fold card

Here is one of my projects for week three of my Cartidge Challenge.

I needed to use Graphically Speaking on a project and I chose to make a Valentine's Day Card for my DH.
I absolutely LOVE this cartridge. It is my go-to cartridge when I am not sure what I want to do on a project. Sometimes just looking through the handbook gets my creative juices flowing, even if I don't end up using this cartridge on the project. I am not sure exactly what it is about this cartridge that speaks to me, but it is one of my favorites.


This is my first time making a gate fold card. I chose to make the card 6 x 6 to keep the measurments easy. I used brown cardstock for the base. All the patterned paper as well as two stickers on the inside of the card were from an older Creative Memories paper kit called Cherish. The Graphically Speaking cuts were: Top Ten, The List, as well as the numbers on the inside. "Things" and "about" as well as the I and the U were cut from Cricut Classic Font. For the I and U I cut several layers and glued them together to make a faux chipboard monogram. I then inked the edges. The heart and its layer were cut from Doodlecharms, with the top layer embossed with swiss dots.


The prima flowers on the outside and inside of the card were sprayed with Glimmer Mist in Coffee Shop, Black Chery, Pearl, and tattered Rose.


The bling I used, both the mini flowers and round gems were colored using Sharpie Markers. I LOVE this technique. All I buy now are clear gems and color them myself.

Have a great day!

Sunday, January 16, 2011

Week Three: Cartridge Challenge

Hello all! It is the start of a new week and I have drawn the cartridges for this weeks challenge.

The cartridges are:


This is another good challenge as I have never used the Speaking of Fall Cartridge. The challenging part about this is, when this title was pulled from the jar my first reaction was, "I don't WANT to use this one now!" So I guess its going to truly be a challenge this time.

The other cartridge, Graphically Speaking should be quite easy, I LOVE this cartridge and have used it many, many times. I love the more unique images and phrases on it.

Good Luck this week to all of those who are following along with me on this challenge.